
Solution A
Ferric Ammonium Citrate 9.0 gm
Distilled Water 33.0 ml
Solution B
Tartaric Acid 1.5 gm
Distilled Water 33.0 ml
Solution C
Silver Nitrate 3.8 gm
Distilled Water 33.0 ml
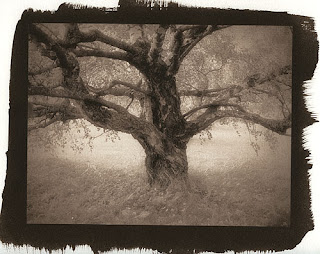
Combine Solutions A and B and slowly add C while stirring. Pour the sensitizer in a brown bottle and let it age for a few days before using. Keep it stored in a dark place. I keep mine in a covered box. I have used sensitizer that had been sitting around for a year or so and it was fine. Care should be taken when mixing.
After evenly coating the paper and allowing it to dry, the negative and coated paper should be exposed in UV light (the sun), depending on cloud coverage, density of the negative, and number of coats of emulsion, this could take only a couple of minutes, or ten to fifteen.
After exposure, the image will darken greatly once it has gone through the fixing process, and will darken even more once it has dried.
"Prints are immersed in water and then checked to make sure that there are no bubbles on the surface. They are then transferred to the reducer and agitated until the desired density is achieved. Reduction seems to be most pronounced in the lighter areas so great care must be taken to avoid wiping out delicate highlight details. This reducer has a tendency to increase overall contrast. After reduction prints are treated in a hypo clearing agent for three minutes and then washed for thirty minutes."
The process is relatively low in cost, making it quite popular, and one can achieve different tones by adding Kodak Polytoner, gold selenium, sepia, berg Copper, or Berg Blue in order to achieve purples, pinks, and blues. Unfortunately the downside to vandyke prints is that they are prone to fading after prolonged exposure to UV light.


No comments:
Post a Comment